How To Build a Visual Website With No Code
“Empowering Business Owners with their online content”.
Steps
Step 1: Determine What You'll Need
For the purpose of this tutorial, you are not required to register a domain name as you will set up a temporary domain for development prior to linking your own.
You’ll need:
- WPMUDEV Bronze Hosting
- Elegant Themes Subscription
“Disclosure: Some of the links in this post are ‘affiliate links.’ This means if you click on the link and purchase the item, I will receive an affiliate commission.”
Step 2: Start a Hosting Account
Your Website will need a place to live, use THIS HOSTING LINK to use the same hosting we use. We recommend and use WPMUDEV’s hosting due to its incorporated functionality, community and support. Once on their website select the Hosting Menu.
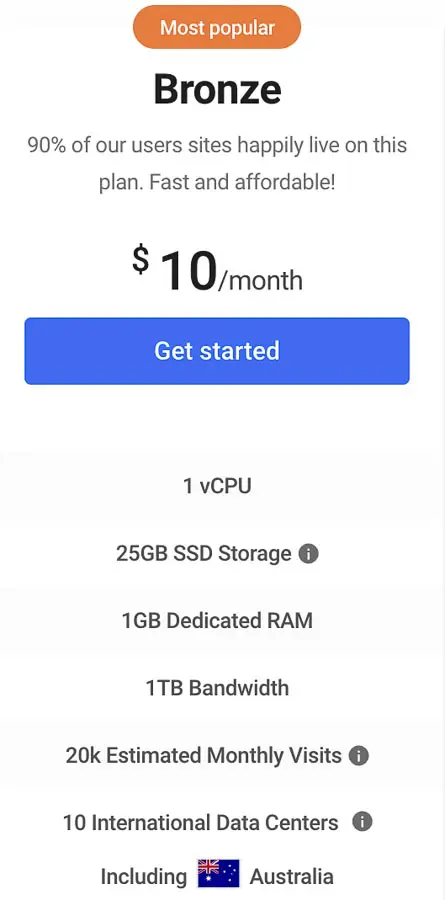
Find The Bronze Plan
Scroll down to find the Bronze Plan and select, ‘Get Started’. If not done so, you will need to create an account follow the prompts and fill in your details.
Please Note: (Prices are subject to change over time and are not representative of current prices in USD).
Create Temporary Website URL
In this section, you will need to create your temporary website URL / address which will be used to develop your website. This can be anything you wish and will have no bearing on your completed website. However, in saying this it’s not advisable to use the same as your actual web address here. This must be a unique address.
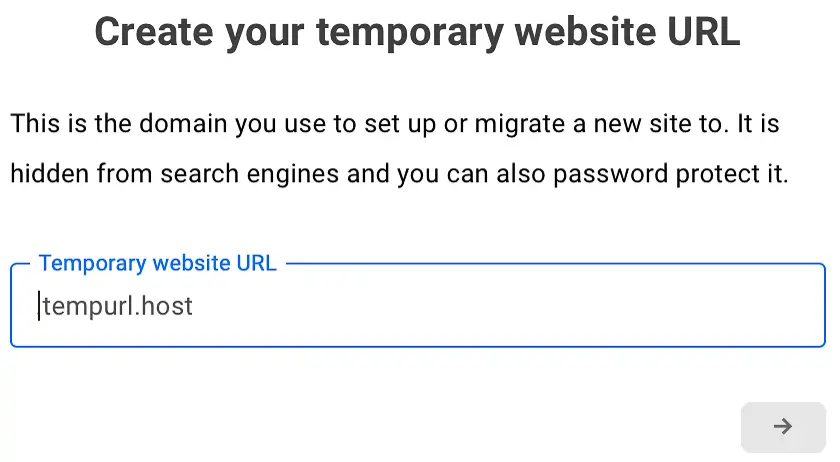
Domain Already In Use
The domain you create must be unique in order for it to be accepted by the system. This example will not work.

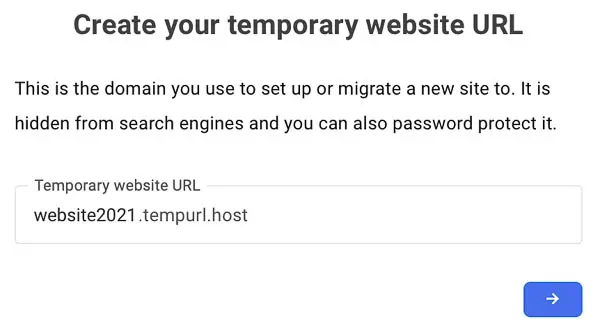
Domain Accepted
This domain has been accepted by the system, all you need to do is confirm by selecting the Blue Arrow.
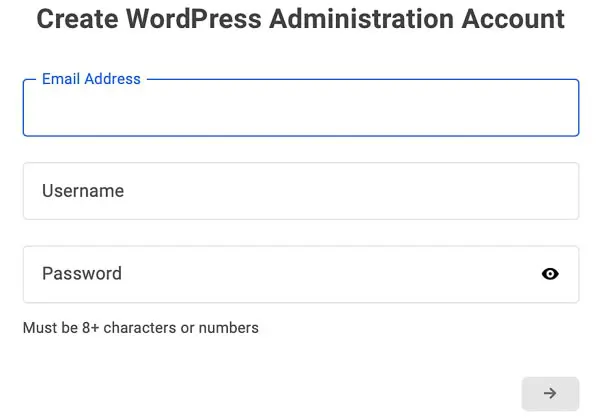
Create WordPress Administration Account
By filling out your email address, Username and Password. This email can be the same as your account email or a unique email address for this install. Once your credentials have been filled in, the arrow at the bottom of the page will turn Blue Indicating you can enter them.
You will be prompted to save your password, ensure you do as you will need them once your website has been created in a few steps.
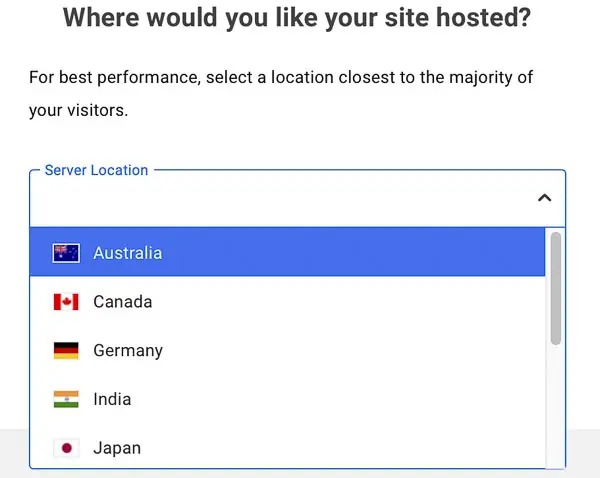
Select Website Location
Next you will be prompted to select where you would like to host your website geographically. Give some thought to where the majority of your customers are and select accordingly. This can be changed later for a small fee, however best to get it right the first time.
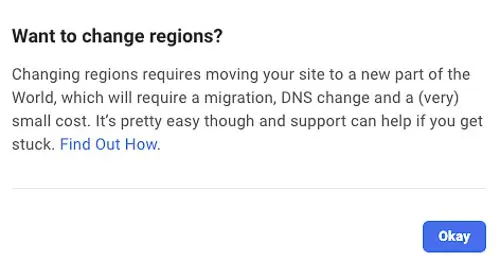
Change Regions
Note: Should you later decide to move the location of your hosting server. This is possible via the Hosting Tab within your account. For a small fee the good people at WPMUDEV will move locations on your behalf.
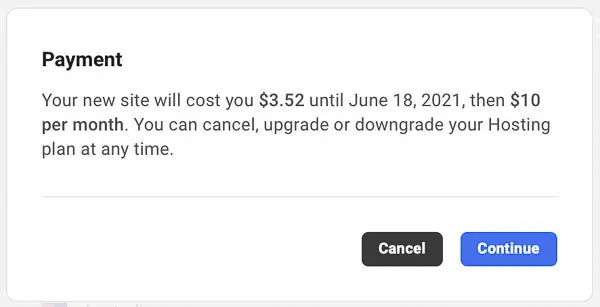
Payment
On the next screen, you will be taken to the payment section. If not done so already, you will be prompted to input your credit card information.
Upon Continue
Once you select ‘Continue‘ your website will begin the installation process, this can take up to 10 minutes to complete, take a short break. during this process, WordPress is installed along with a default set of PlugIns (functionality) to support your new website.

Step 3: Administer WordPress Account
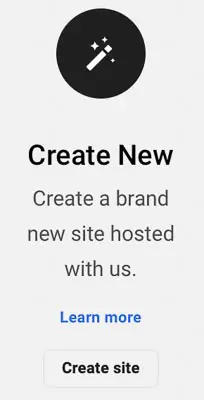
Select the WordPress icon in your newly created website to log into the administration area.
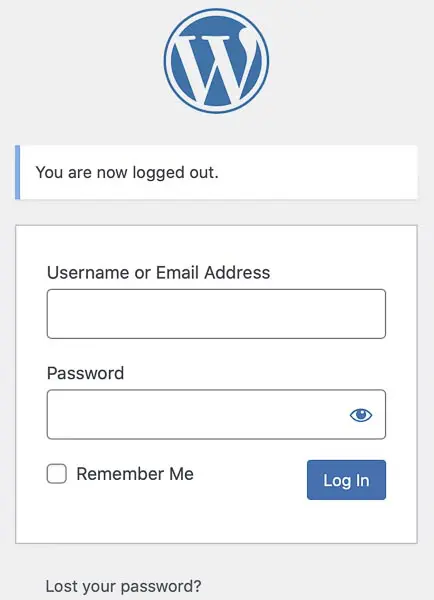
Login To Account
Remember your login from your Create WordPress Administration Account as created previously this is now used to login to the administration area of your WordPress website.
If you have forgotten your password, you have a get out of jail function at the bottom of the screen ‘Lost your Password?’. This will send an email link to the administration email to reset your password.
Functionality
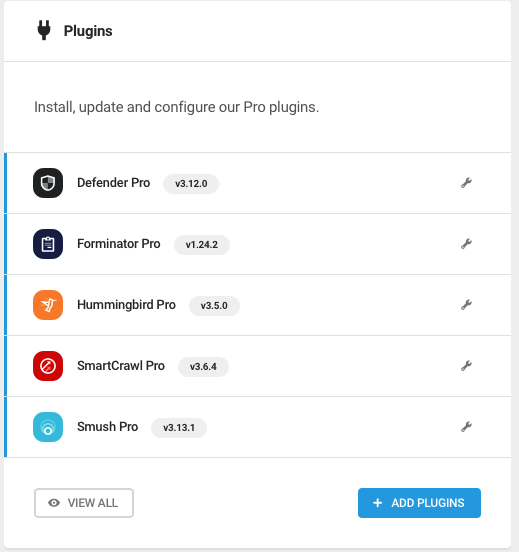
You will see functionality has been built in as an inclusion within your hosting subscription. These are called plugins, consider these much like apps you would get on your phone to add functionality. Head over to the Plugins menu on the left to reveal the pre-installed plugins.
The plugins included are as follows:
- Defender Pro for website security
- Forminator for building customer input forms
- Hummingbird Pro to optimise your website for faster load times
- Smart Crawl Pro to reduce the size of your images for faster loading
- Smush Pro to reduce your image sizes
- WPMU DEV Dashboard WPMUDEV Administration built into WordPress
Step 4: Install DIVI Theme
Next you will need to install the DIVI theme. Although not necessary to launch a website, we highly recommend using the DIVI theme on our own website projects. For this, head across to Elegant Themes and check out the DIVI theme.
You will need to create an account in order to download the theme. Therefore, select Account from the top menu and follow the prompts.
You only need to download the DIVI theme and not the DIVI Builder this is only required in the event you’re not using the DIVI Theme.
TIP: Elegant Themes have created a wealth of tutorials to help you along your journey, take the time to review these to improve your knowledge.
They offer an annual plan however if you are serious, then just go ahead with the lifetime subscription one-off payment to avoid the recurring yearly payments.
Download the theme and if you’re using a mac it’s likely the zip file will be sent to the trash, you can either drag it out of the trash and place it in another folder as you’ll need the zip file to make the install.
Go back to your WordPress dashboard, select Appearance / Themes / Upload Theme. Click and drag the zipped file from the bin onto the Choose File icon within your dashboard, click ‘Install Now‘.

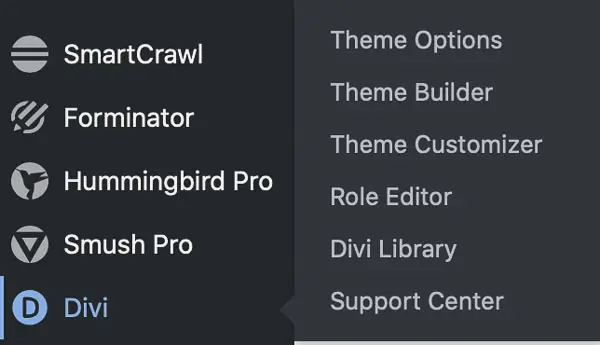
Once installed, Active this theme for the DIVI menu option to appear on the left.
Select Divi, Theme Options.
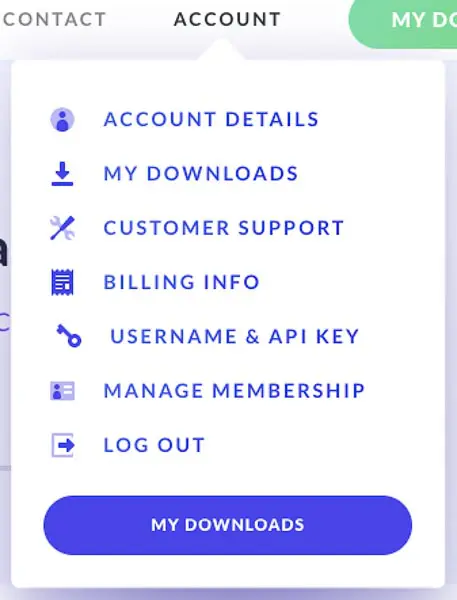
Go Back to the Elegant Themes Website, Select Account, Username & API Key.
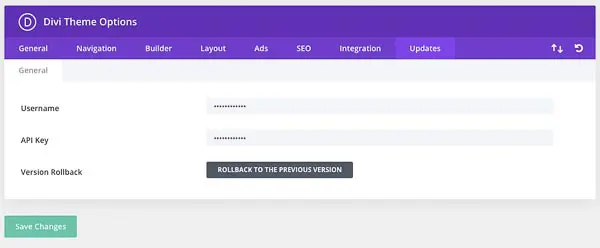
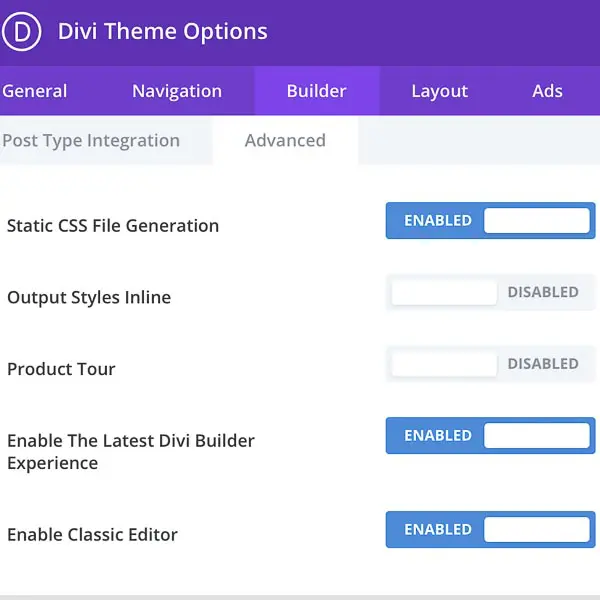
Go Back to your WordPress Admin Area remembering your Elegant Themes Username.

Step 5: Create Your 1st Page
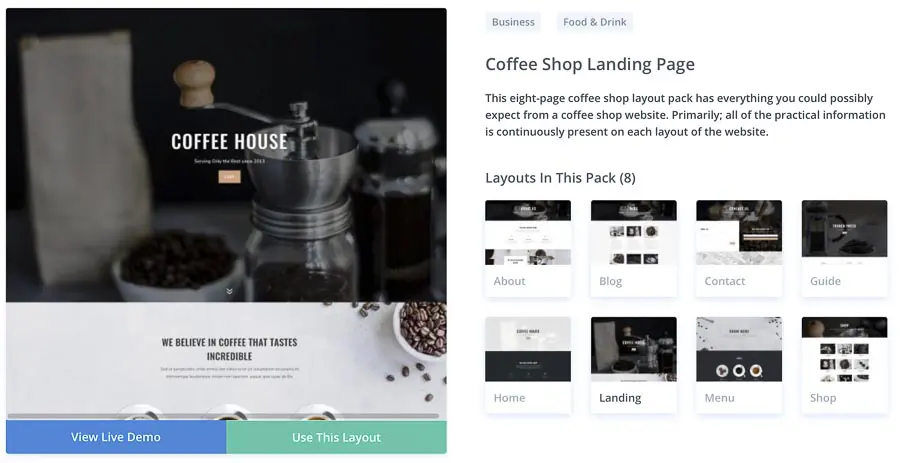
Important: At some point prior to creating your first page, consideration must be given to select a suitable design for your Business website. Take a look through the designs on offer as part of your subscription within the Layouts Library Here: www.elegantthemes.com/layouts/
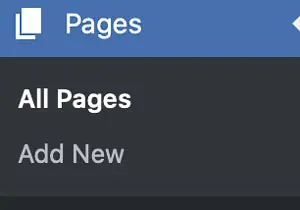
Go to Pages / Add New.

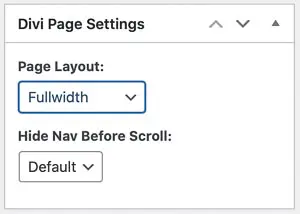

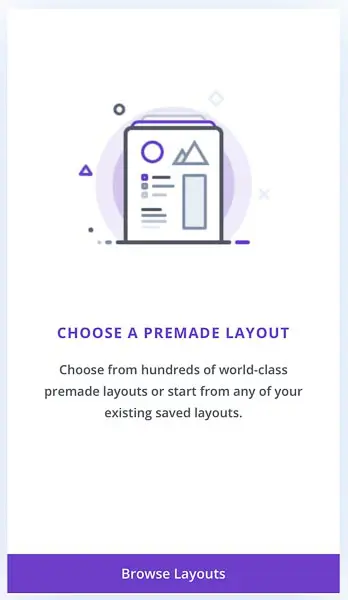
Select Choose a Premade Layout.
Note: By now we hope you have given consideration to the layout you would like to use for this page. As part of the layout import process, all images and assets required for the page will be imported into your media library as stock images. While you can use these images on your website, its strongly advised to replace these with your own images and simply use the layout design as a basis of what your page will look like. Try to avoid importing multiple designs onto your website as your media library will become cluttered with unwanted stock images.
Still need time deciding, go to this page: www.elegantthemes.com/layouts
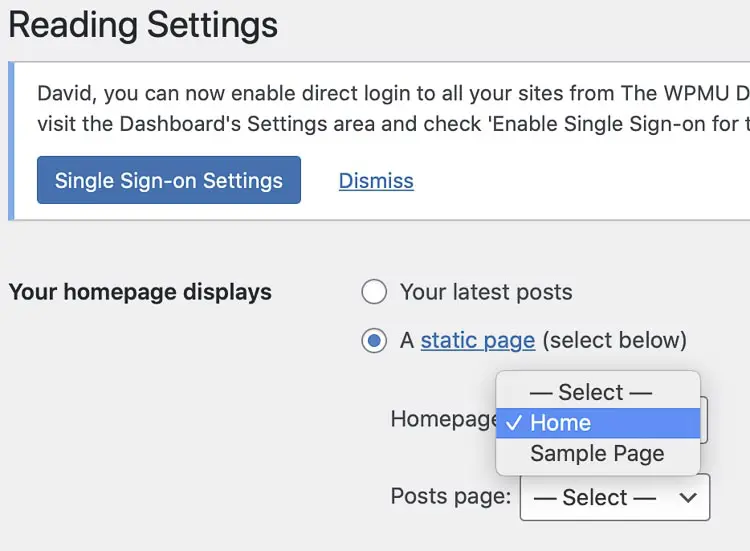
Go to Settings / Reading
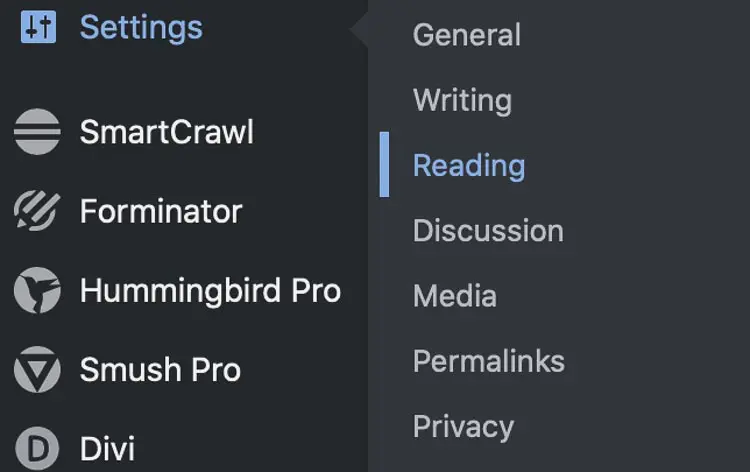
Withing the Your Homepage Displays area, choose A static page and select the page you just created in the dropdown menu and save changes. In this case, home.
Step 6: Showcasing Your Website
Tip: Right Click then select open in new window to keep the current page active.
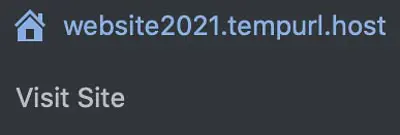
Well if you’ve made it this far, Congratulations, you’ve just completed the initial installation of your new website. While there is a lot of work to do from here. What you have is a foundation from which to develop your own Business’ Website based on professionally designed template layouts.
Remember we’re here to help, if you’d like some assistance setting up your new website, Get in touch via our Contact Form Below.
australian based services
We don’t use call centres, therefore contact us direct as we’ll work with you personally to help build a stronger internet presence for your Business. Below is a list of just some of the services we can offer your Business. If you’d like to speak to a real person get in touch via the contact page, We’re based in the Sutherland Shire, Sydney.
Contact Form
Use this form to tell us about your project and We’ll will be in touch. Don’t worry nothing is shared to third parties.
If you’d prefer to speak to a human, give us a call on 0407 251 296
